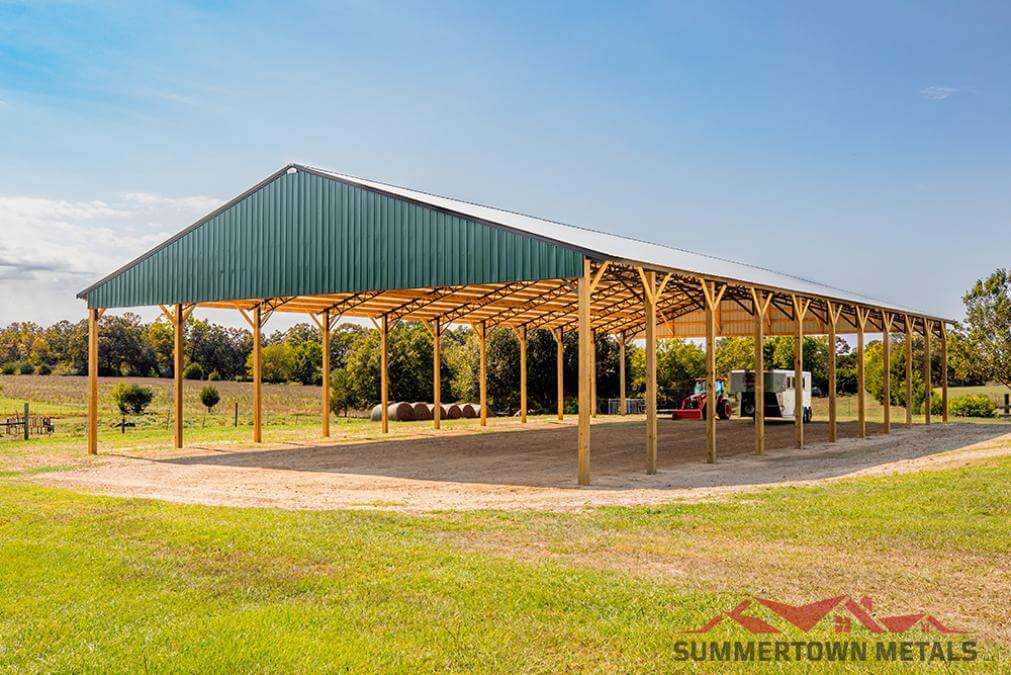
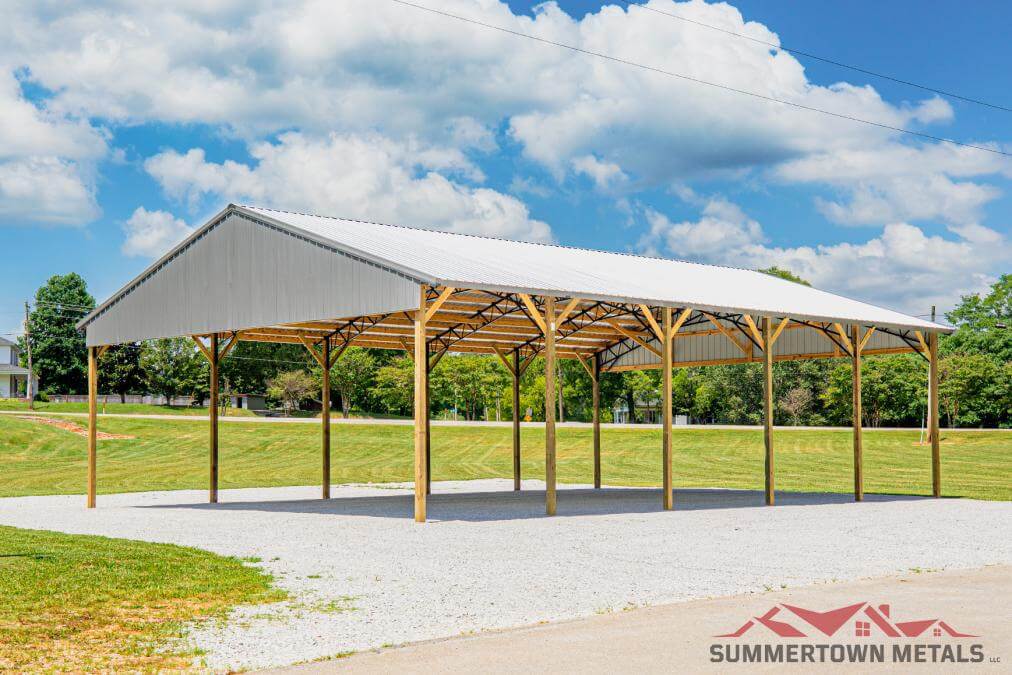
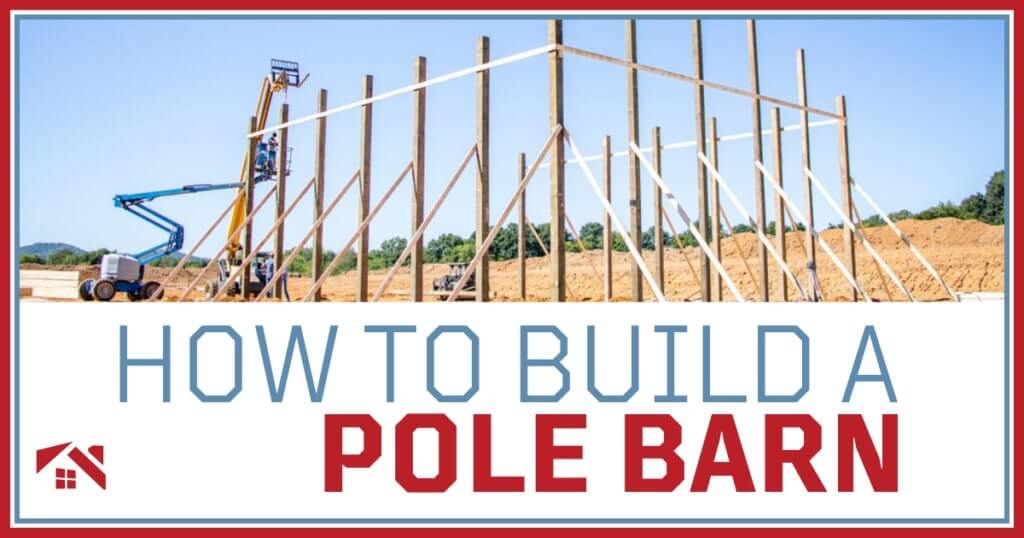
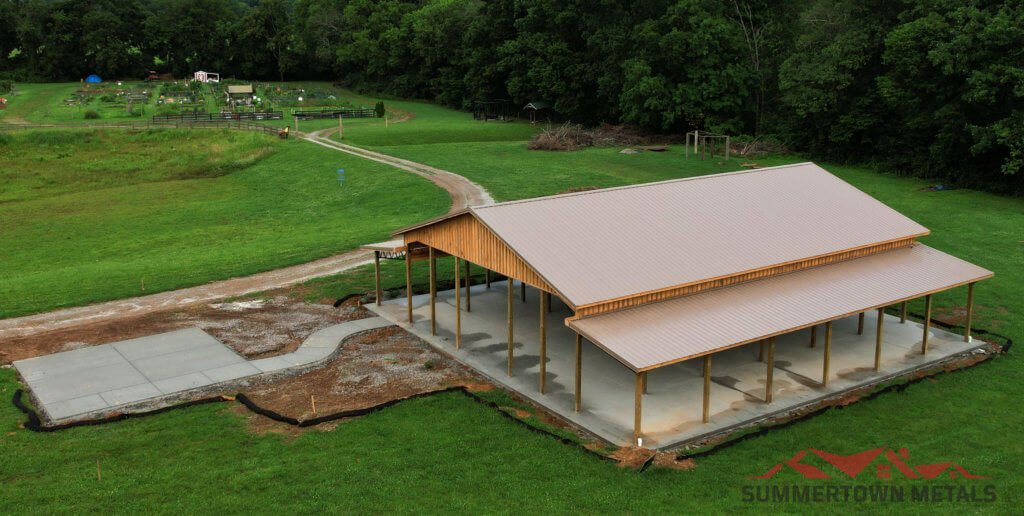
How to Build a Pole Barn
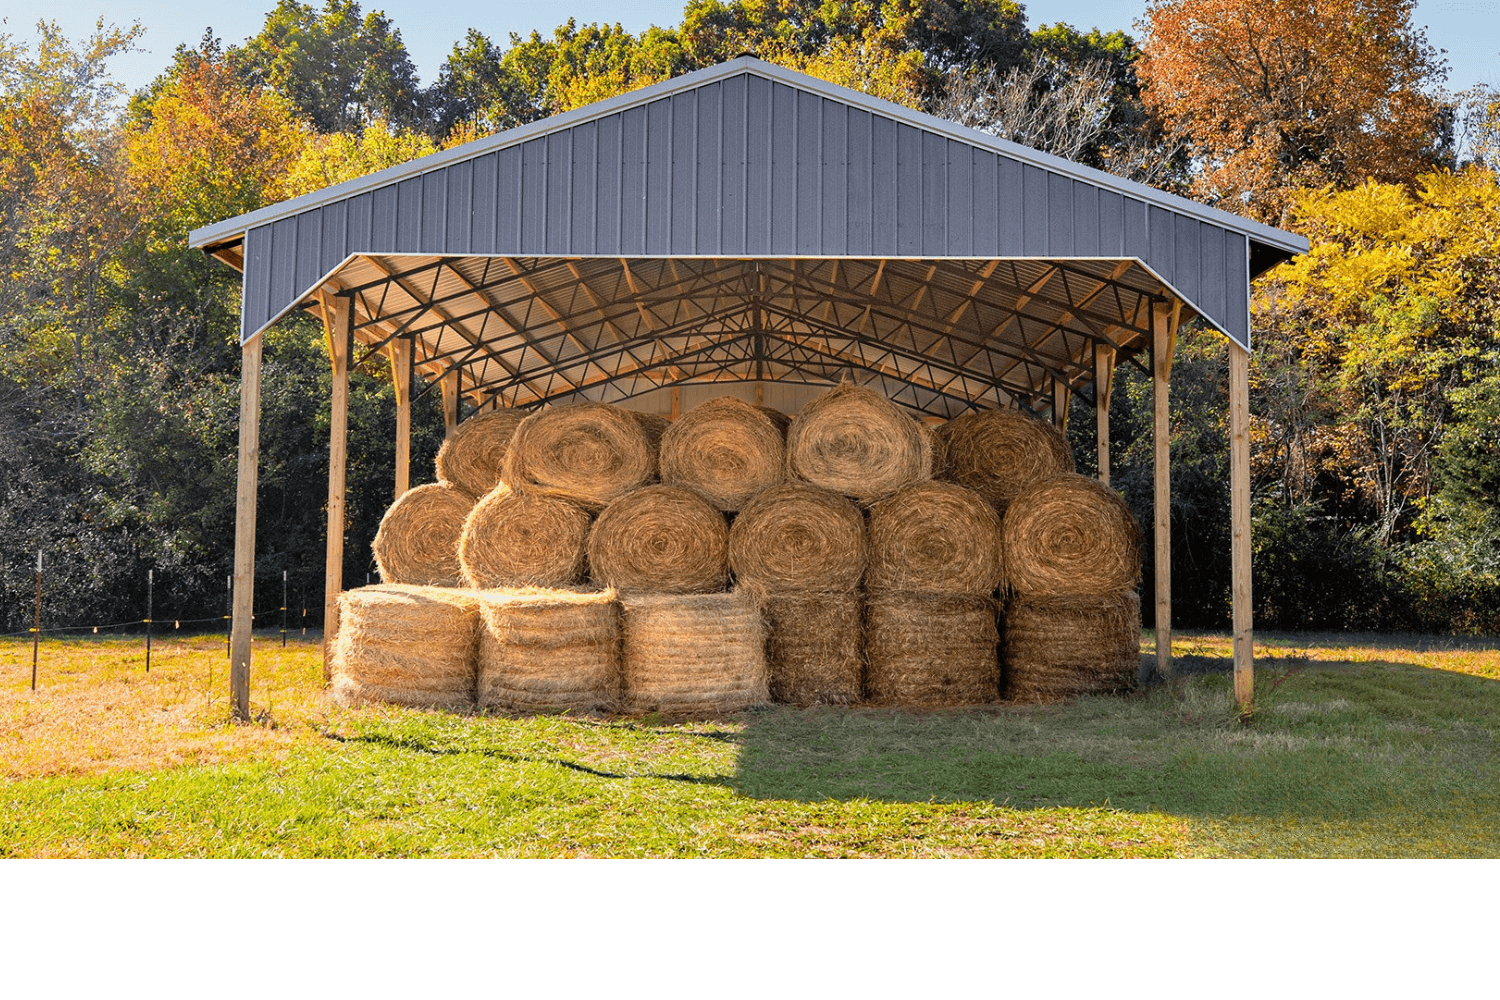
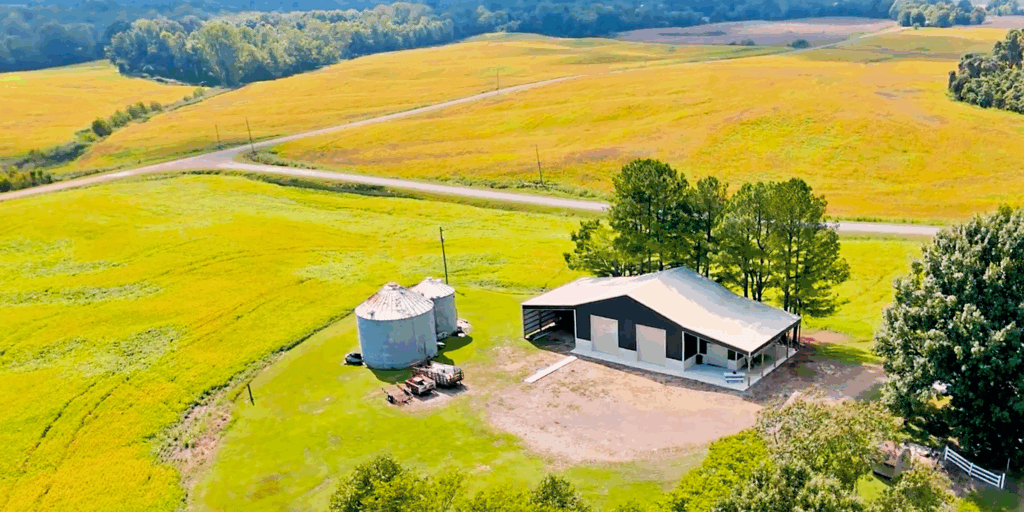
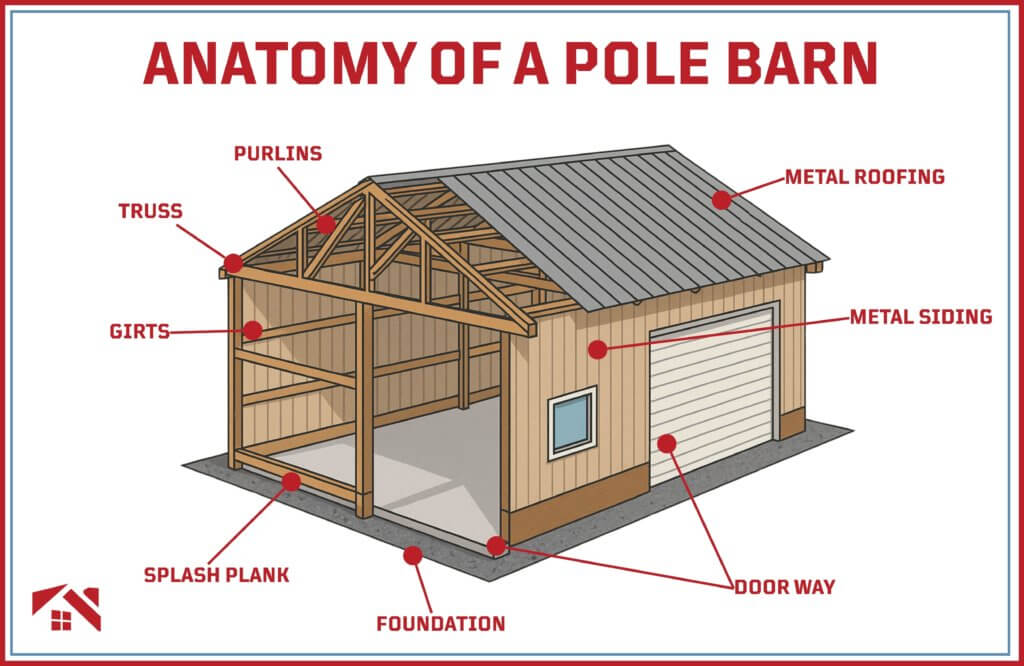
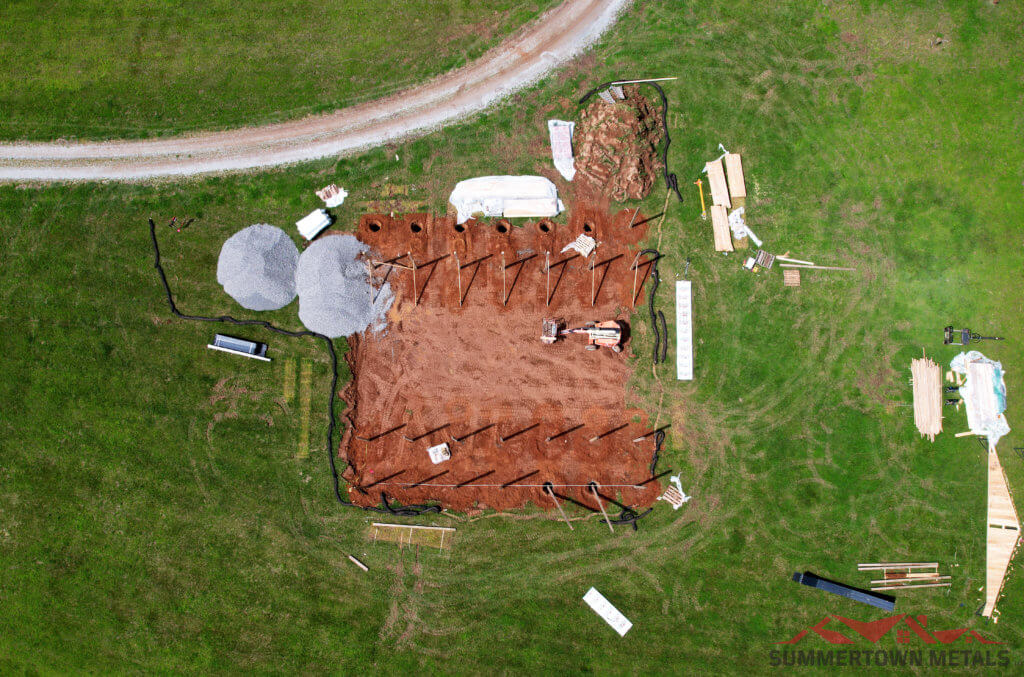
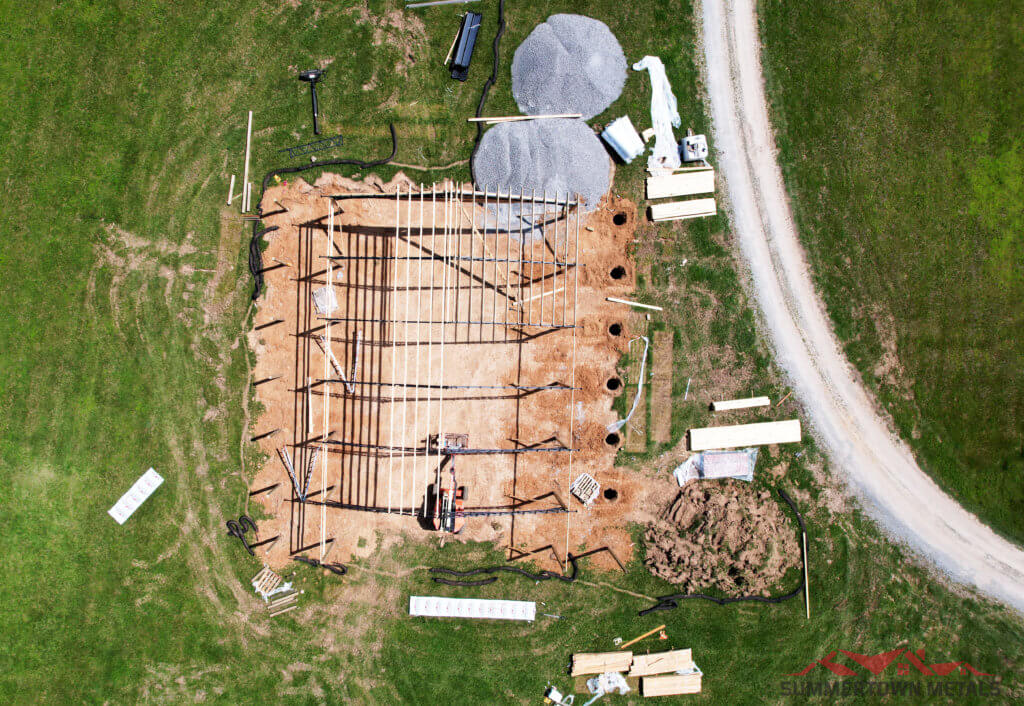
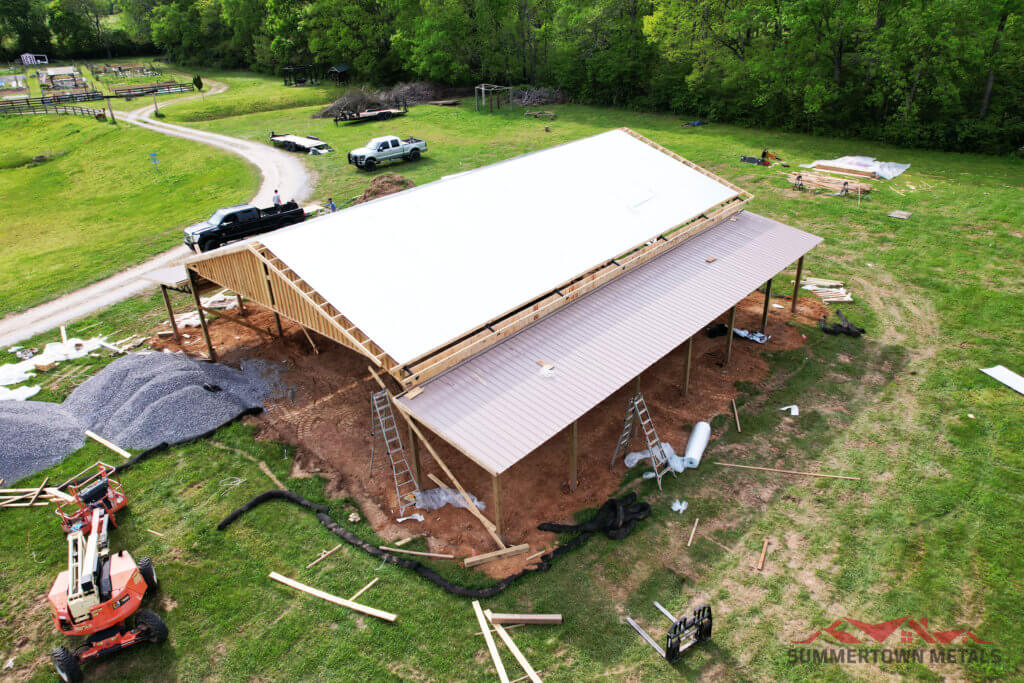
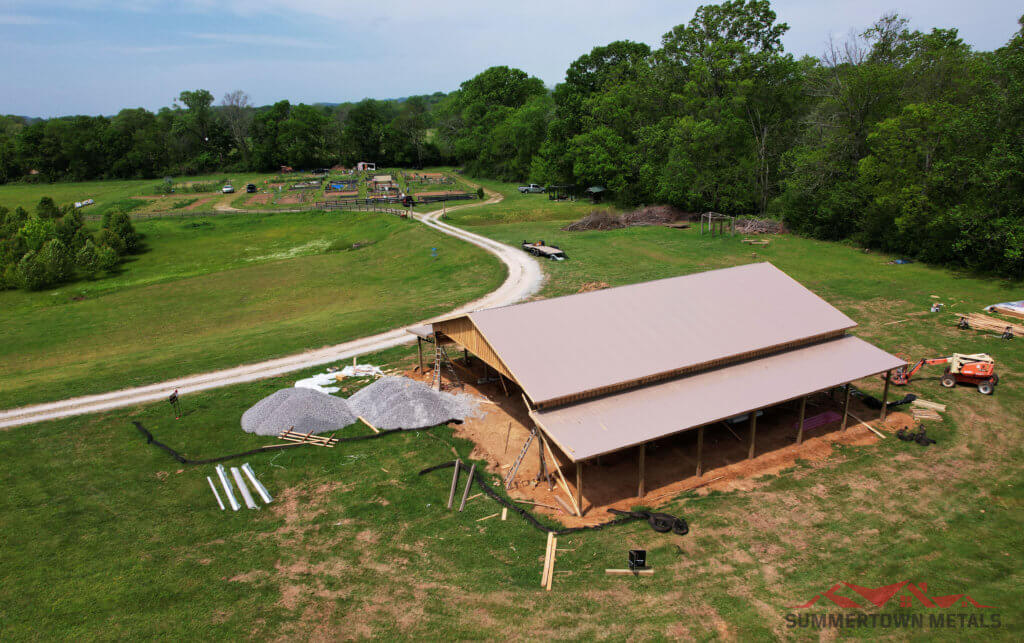
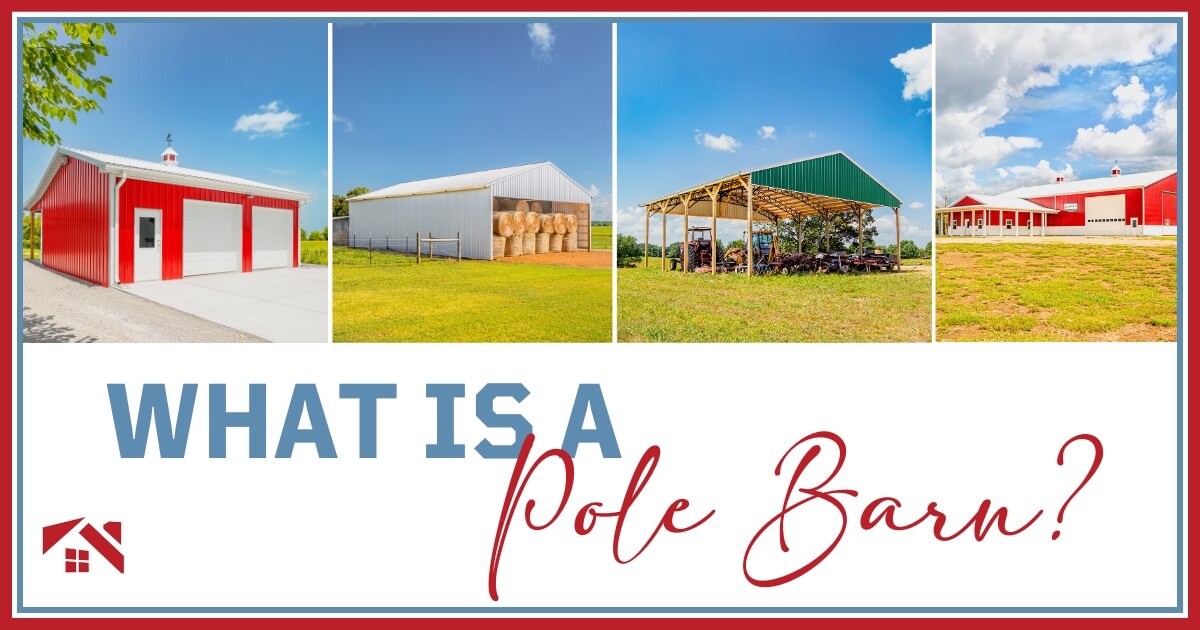
When it comes to getting the most out of your space—without overcomplicating the process—a pole barn just makes sense. But maybe you’re wondering what a pole barn is and if it’s right for you. These buildings are known for their strength, simplicity, and versatility, whether you’re ...
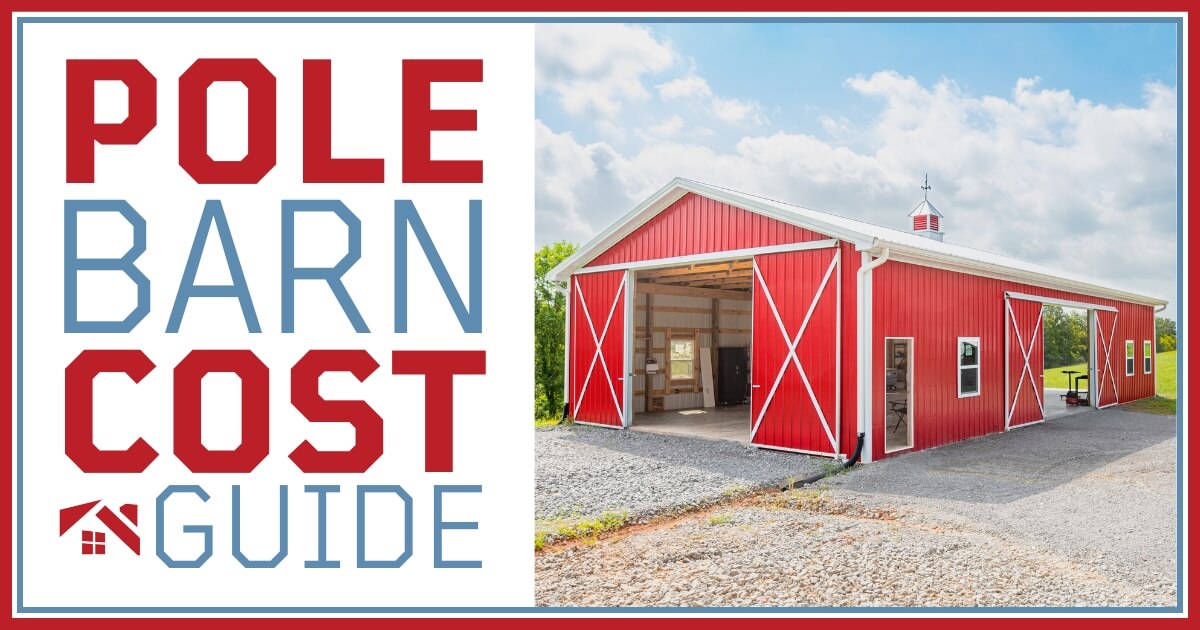
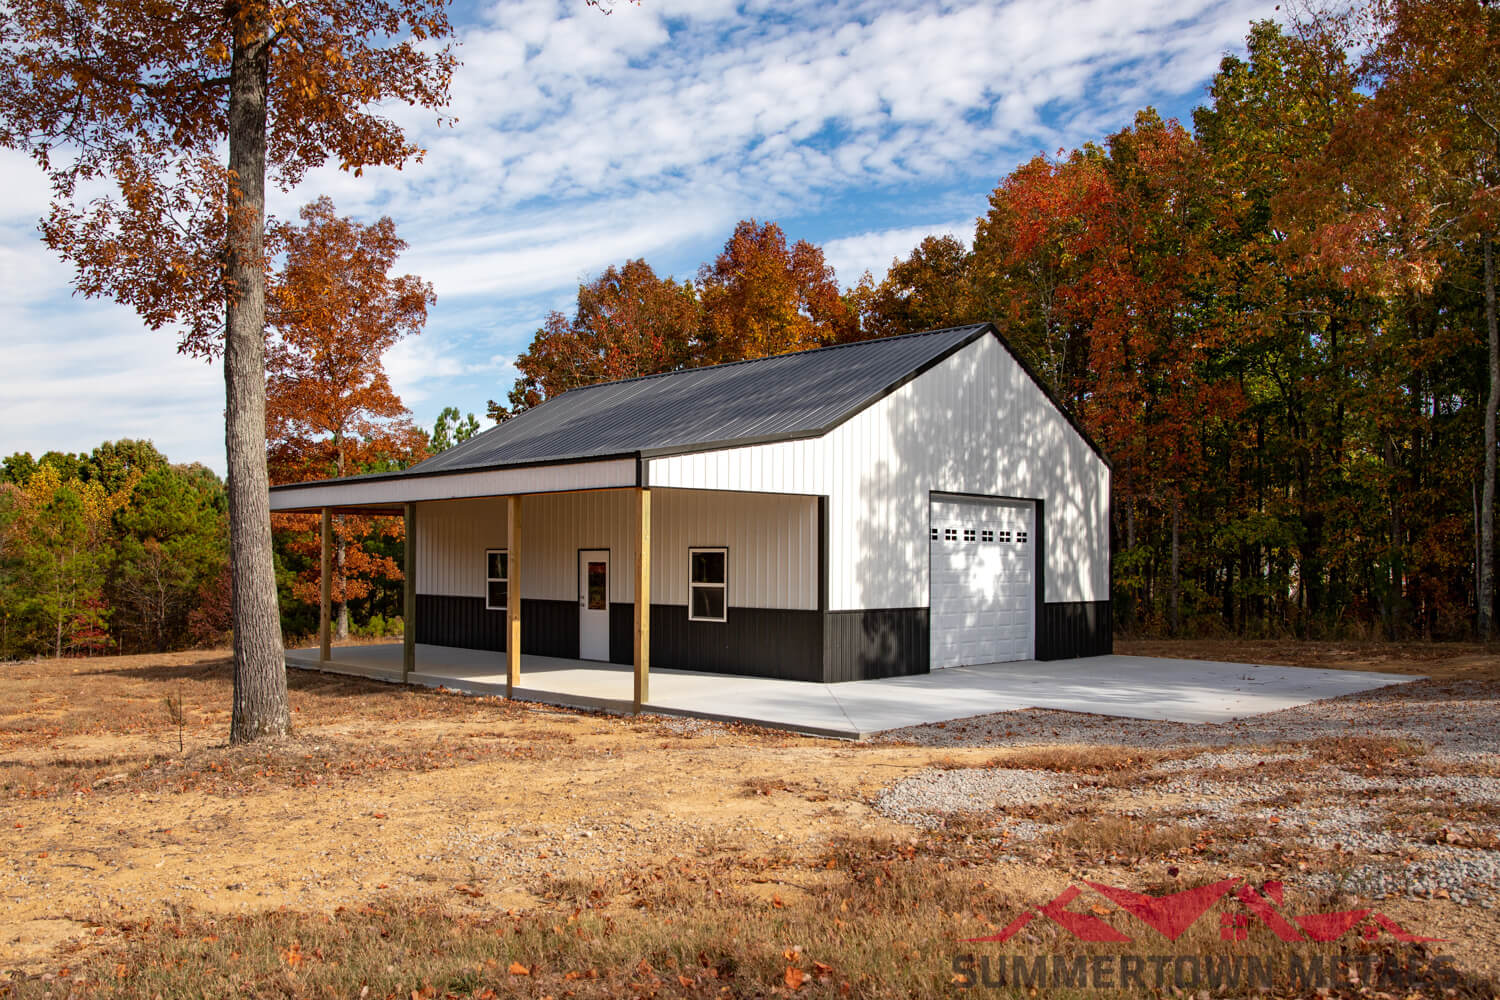
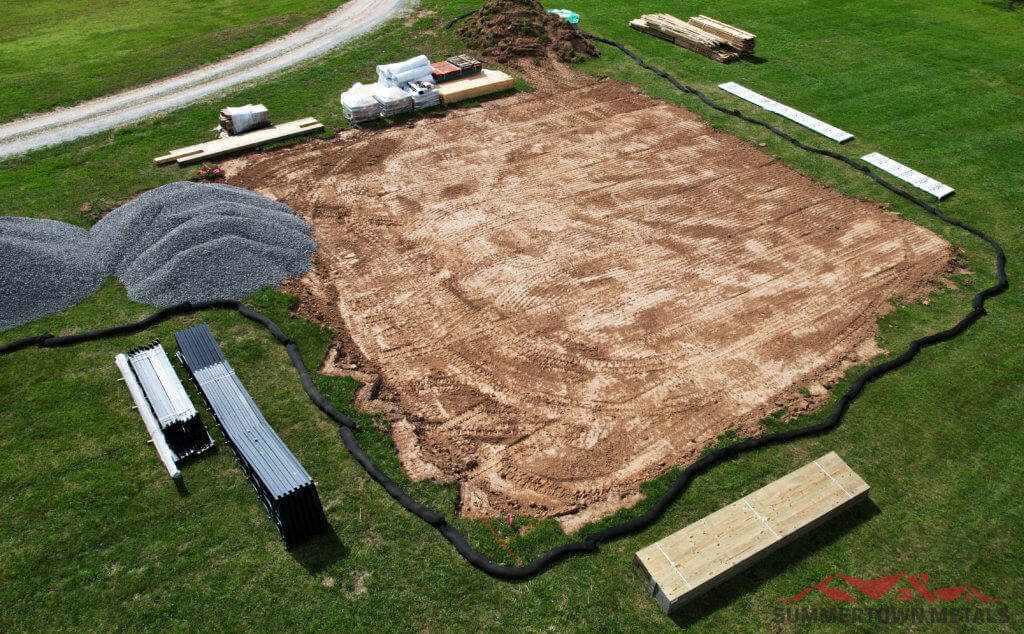
Thinking about adding a pole barn to your property? Whether it’s for storage, a workshop, or agricultural use, understanding pole barn cost will help you determine the right pole barn that fits your needs and your budget. This guide breaks down everything you need to know about pricing in 2025 ...
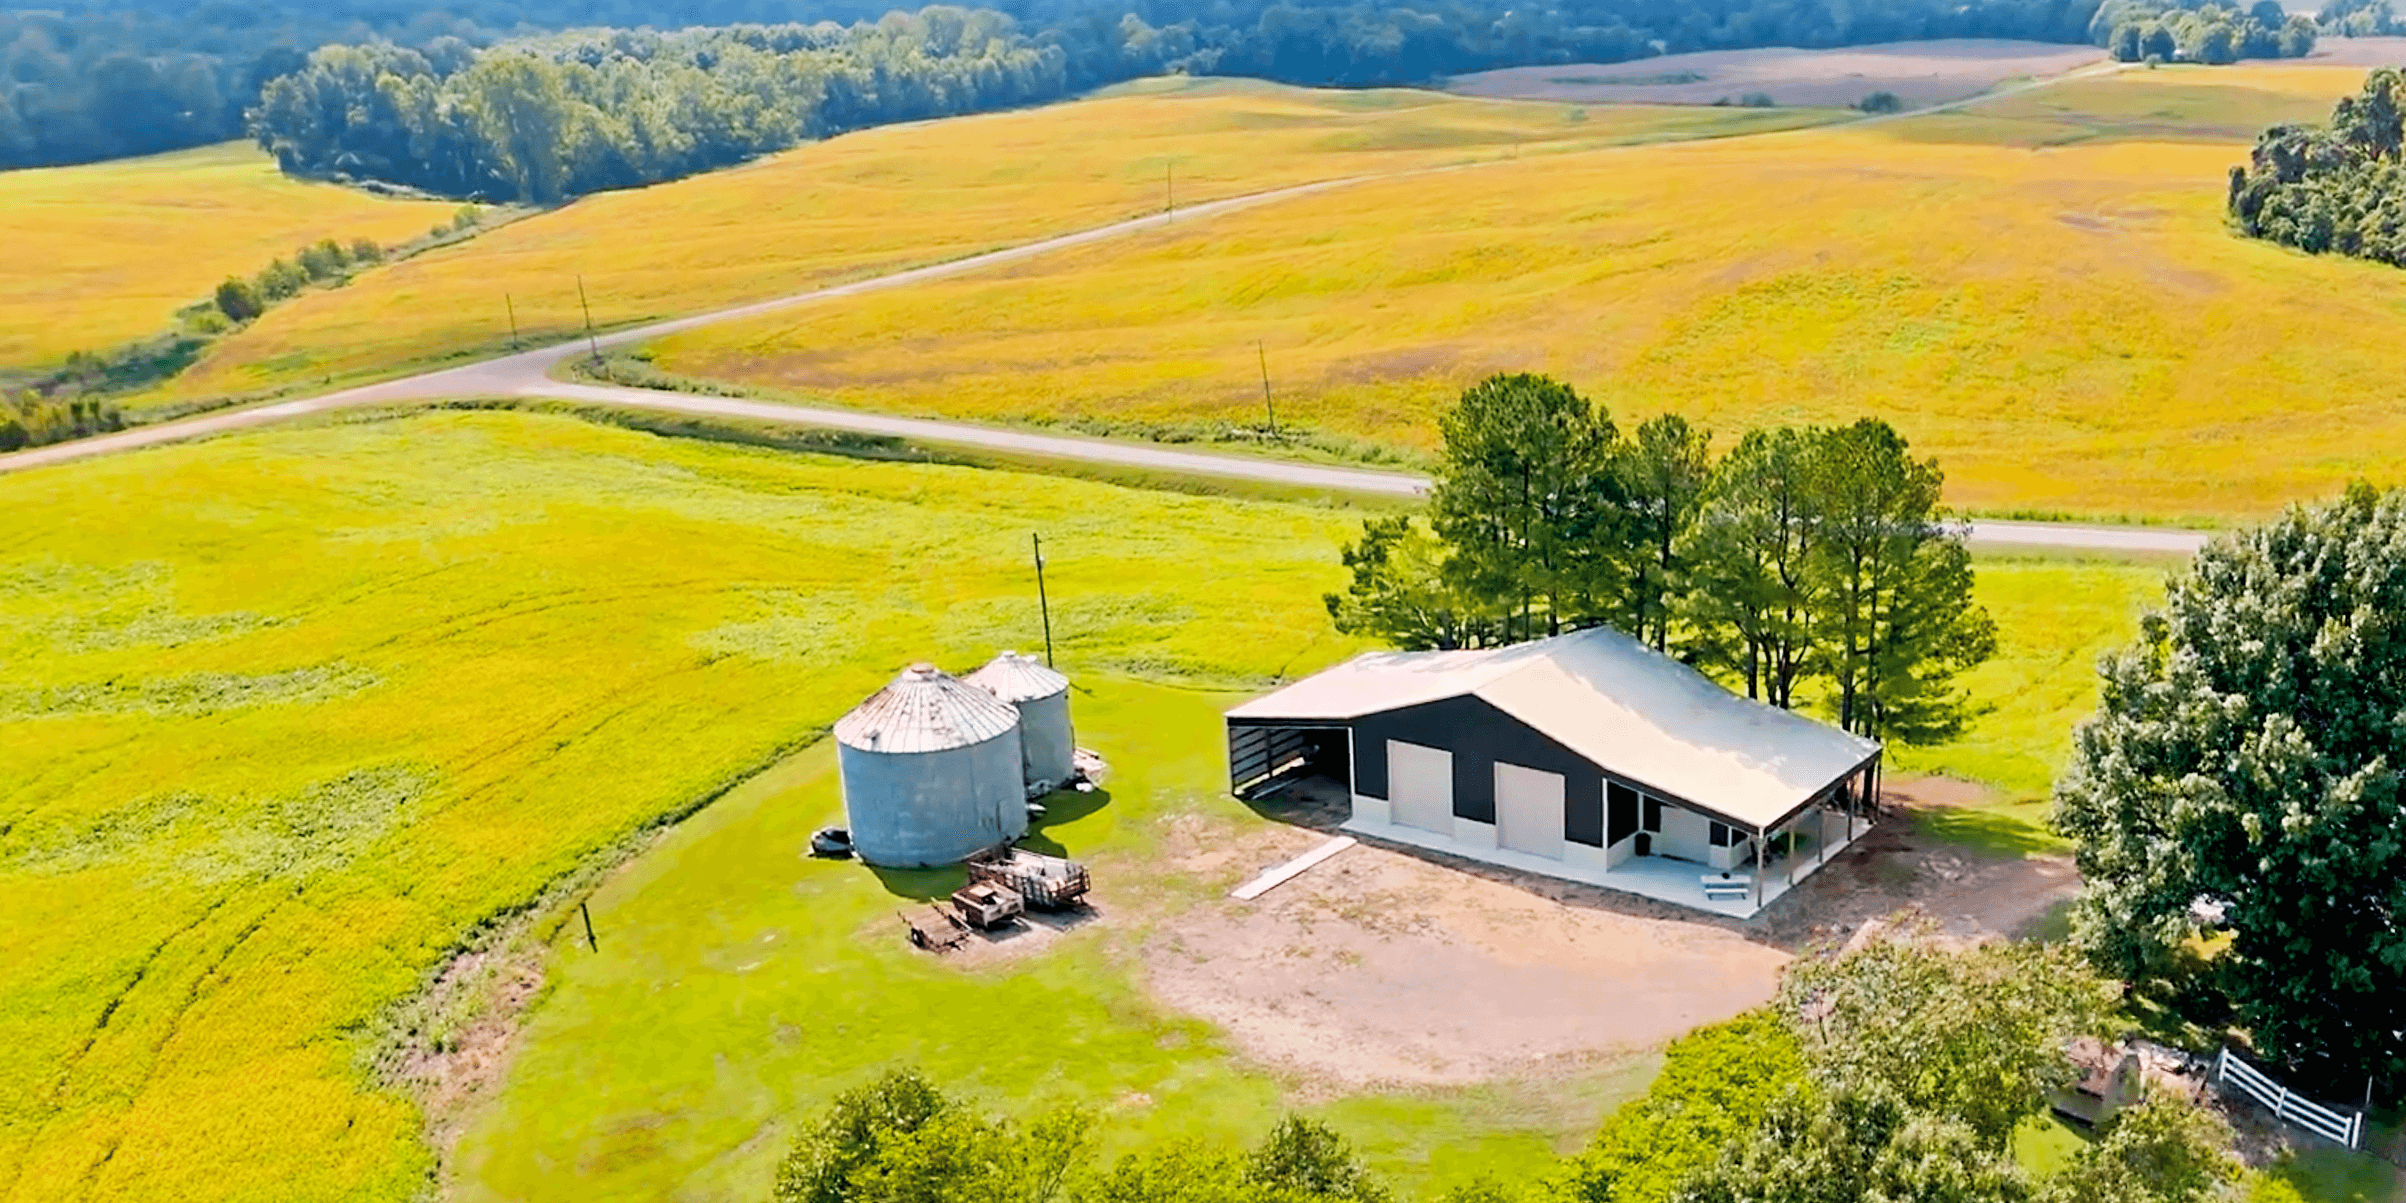
From pole barns to fully custom builds, our post frame solutions are designed to fit your life and your land. Explore ready-to-go kits or work with our team to create something just for you—quality materials, honest pricing, and expert guidance every step of the way....