How to Build a Pole Barn
July 10, 2025
July 10, 2025 by Summertown Metals
Thinking about adding a pole barn to your property? Whether you need extra storage, a place for your animals, or a dedicated workshop, a pole barn is one of the most practical and budget-friendly ways to create functional space that lasts for decades.
In this guide, we’ll walk you through everything you need to know about how to build a pole barn, from planning and permits to step-by-step construction and finishing touches, so you can move forward with confidence.
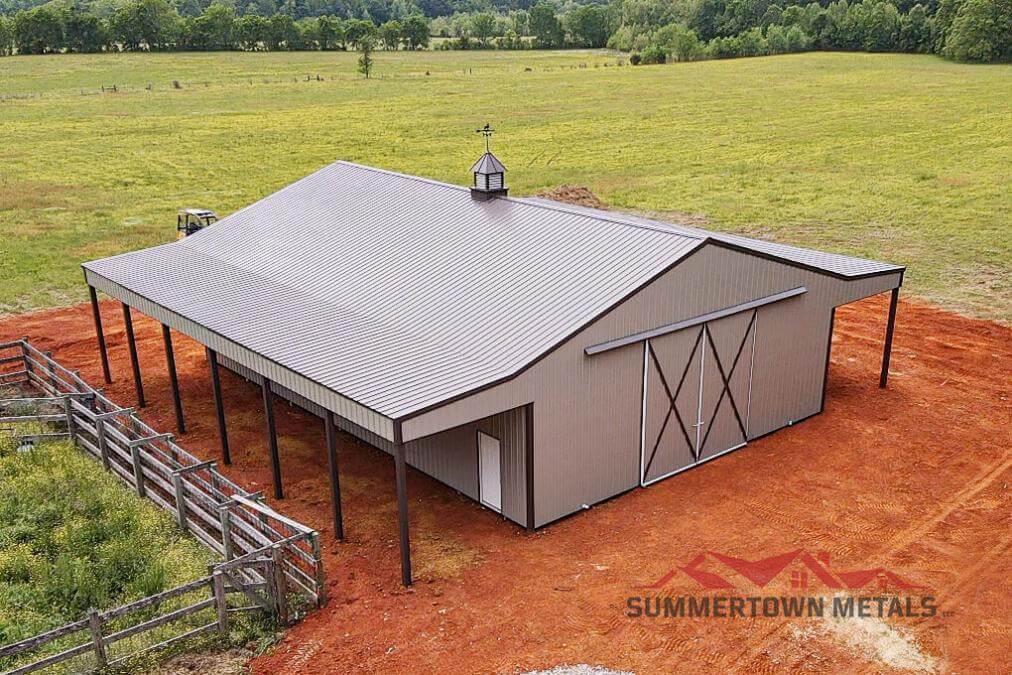
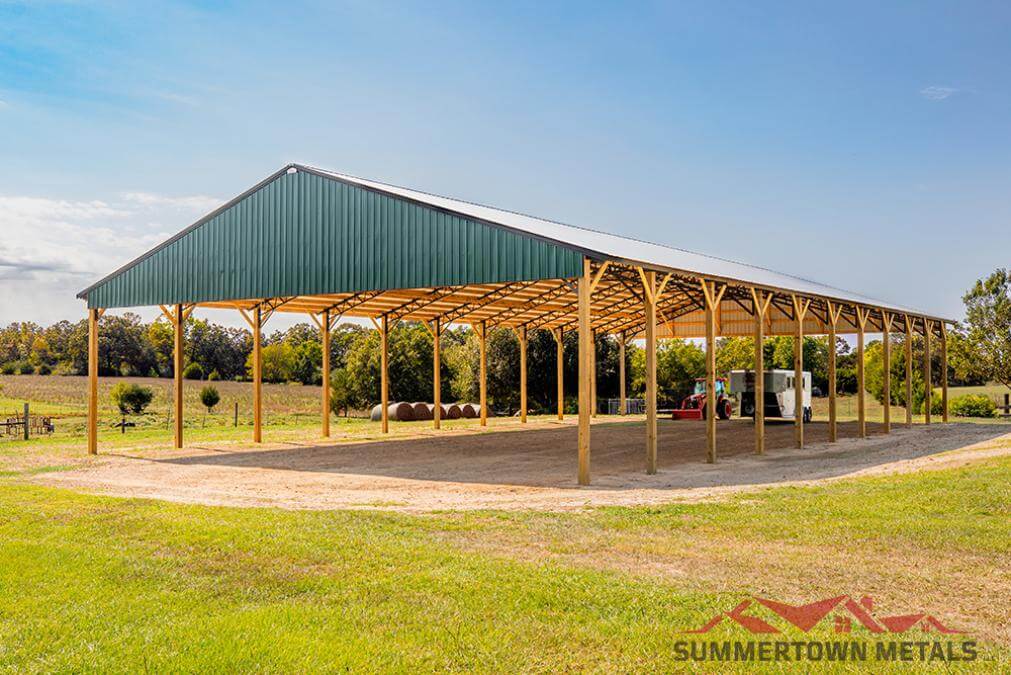
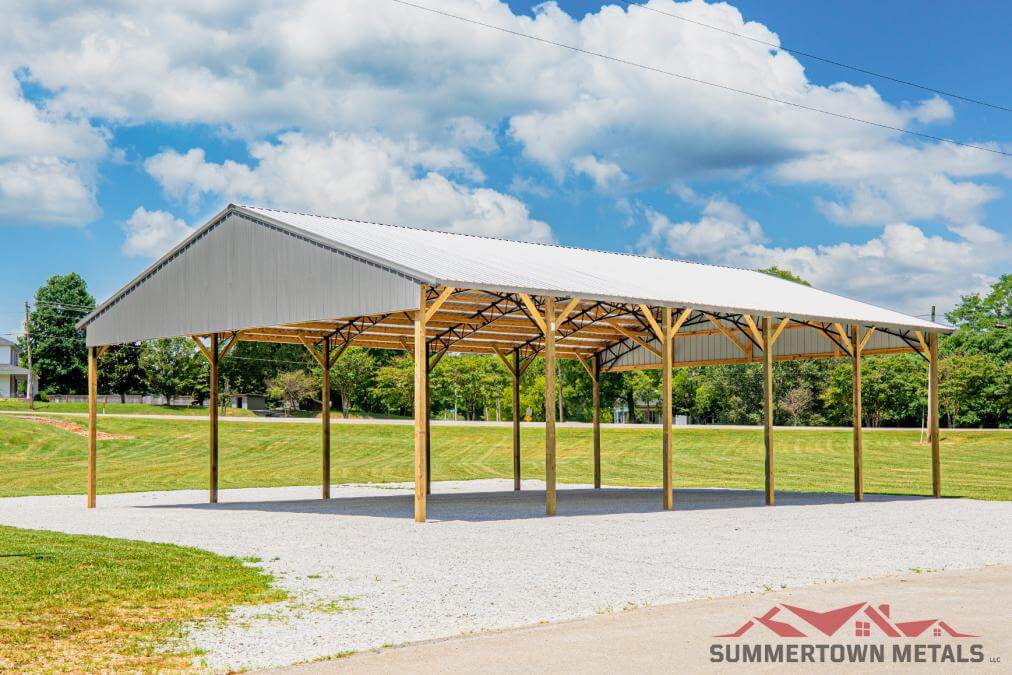
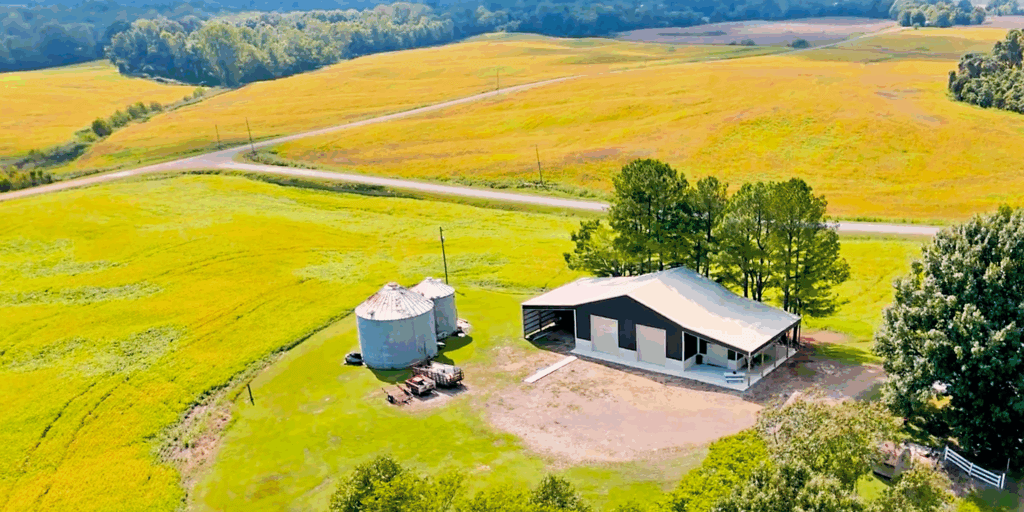
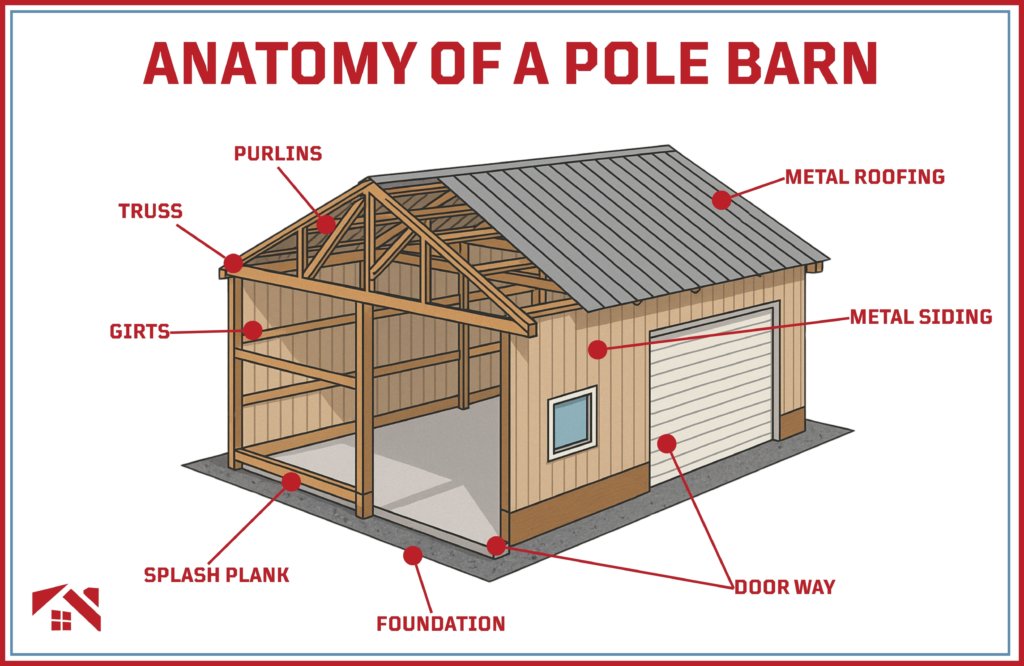
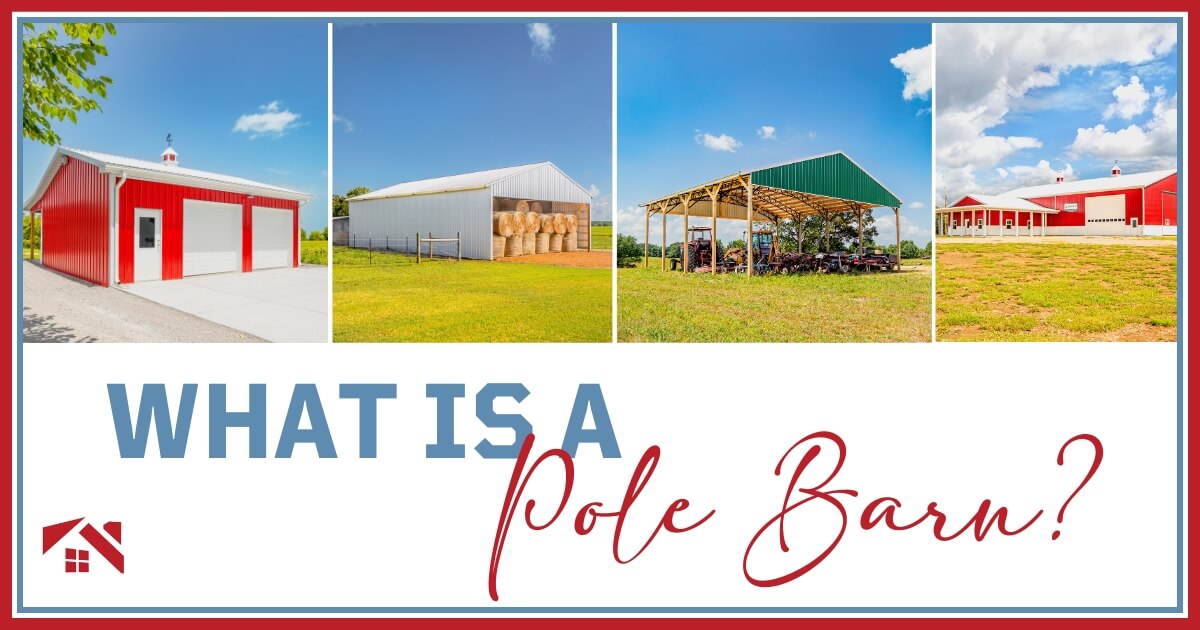
A pole barn is a type of post-frame construction that uses large poles or posts buried in the ground to support the structure, eliminating the need for a traditional concrete foundation. This makes pole barns faster and more cost-effective to build than many other structures, while still offering impressive durability.
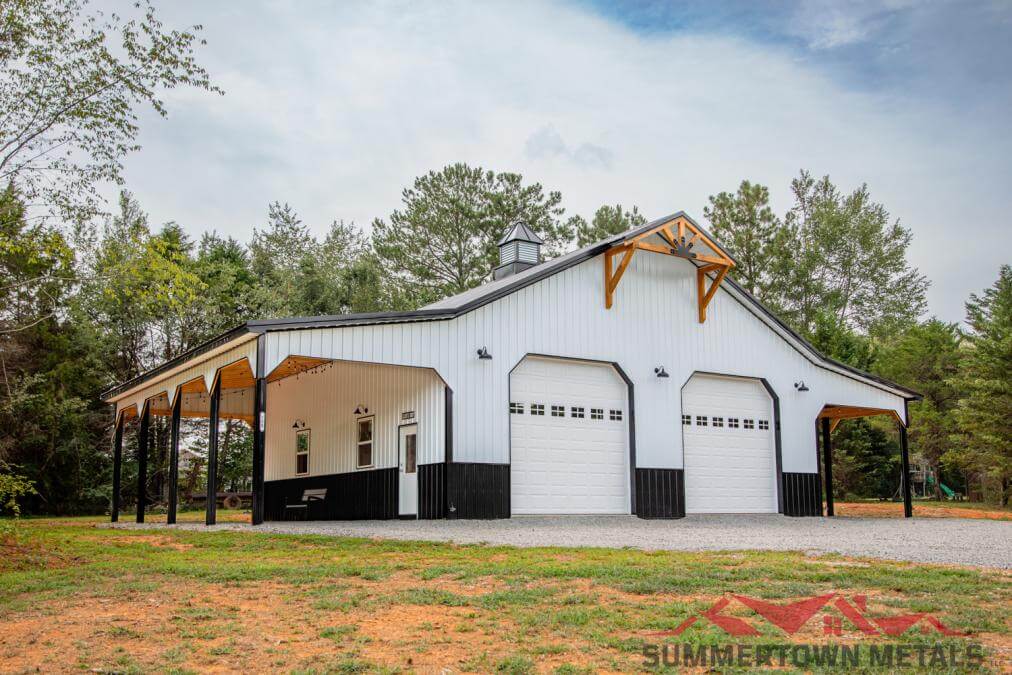
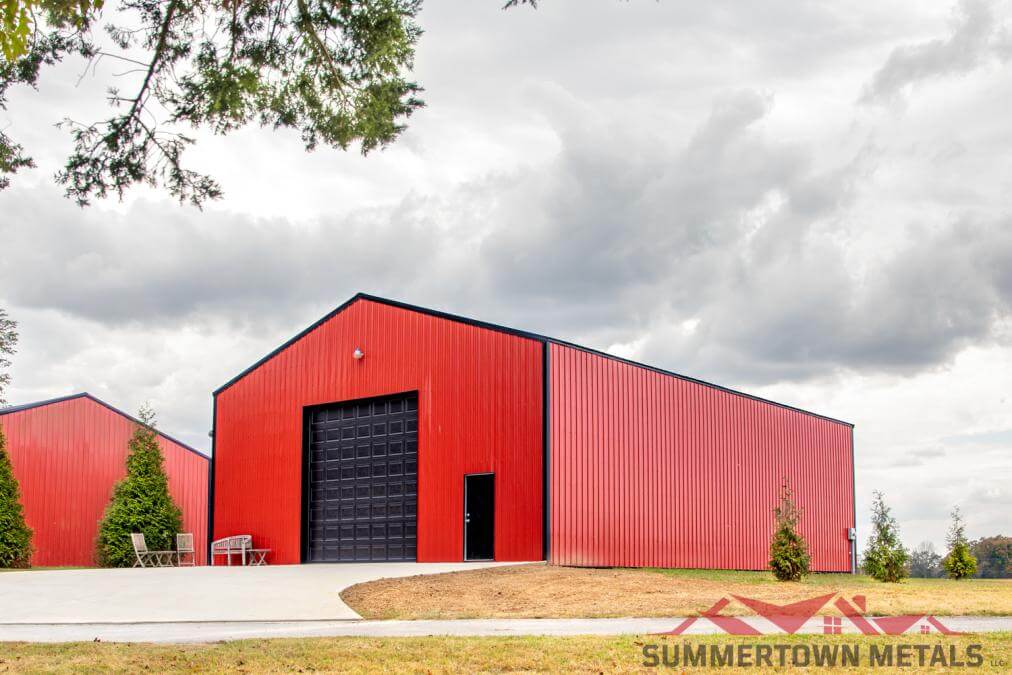
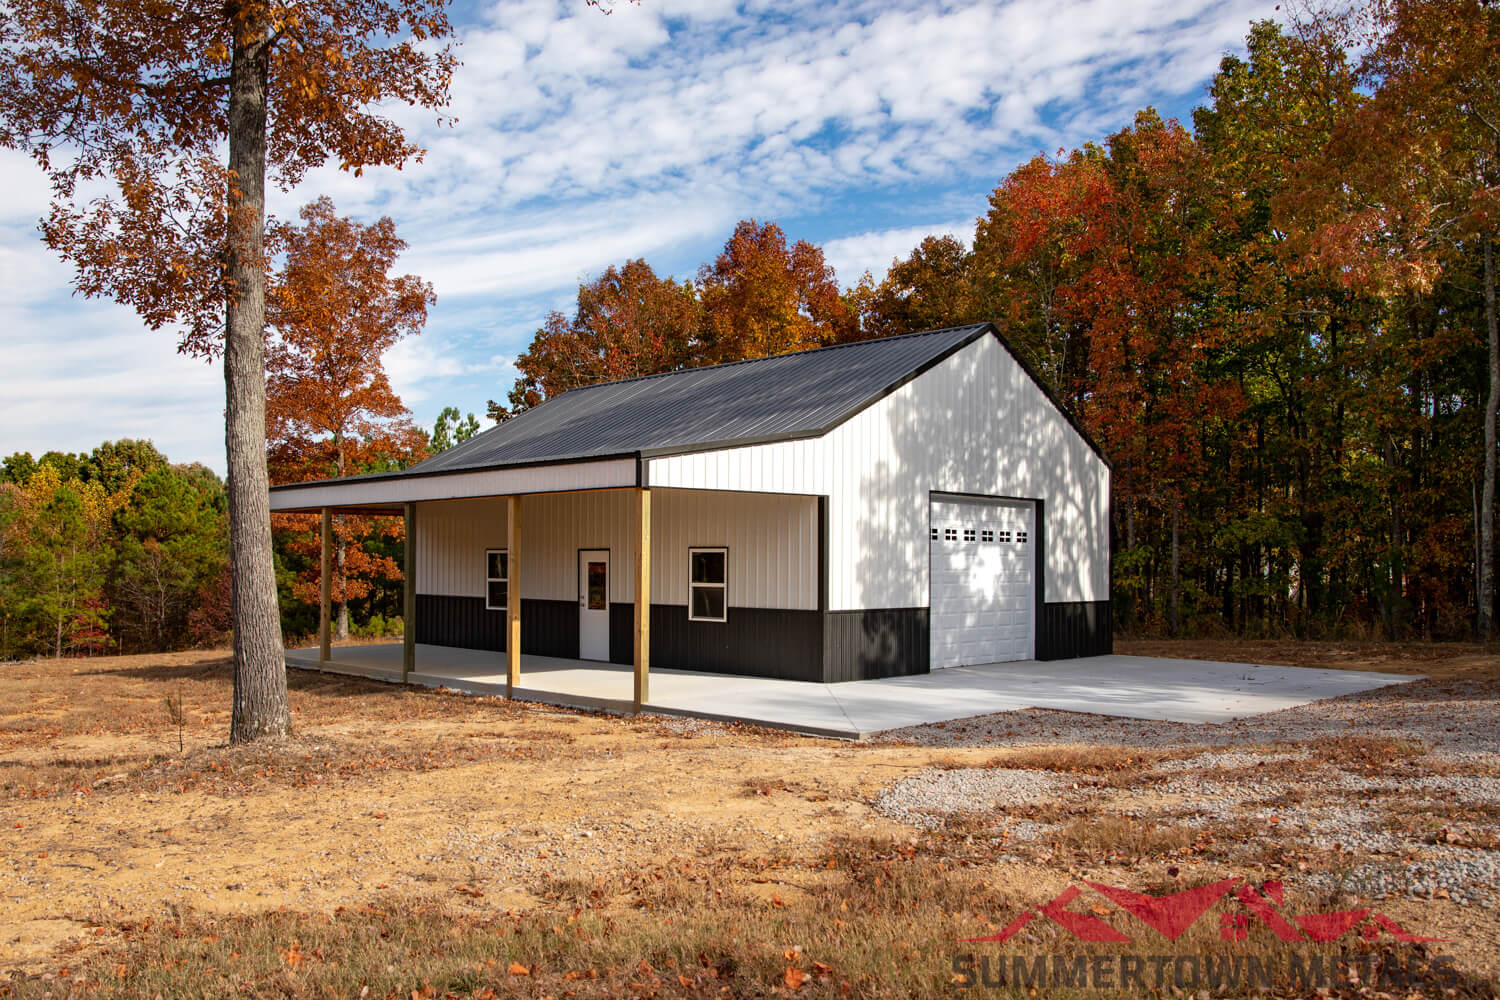
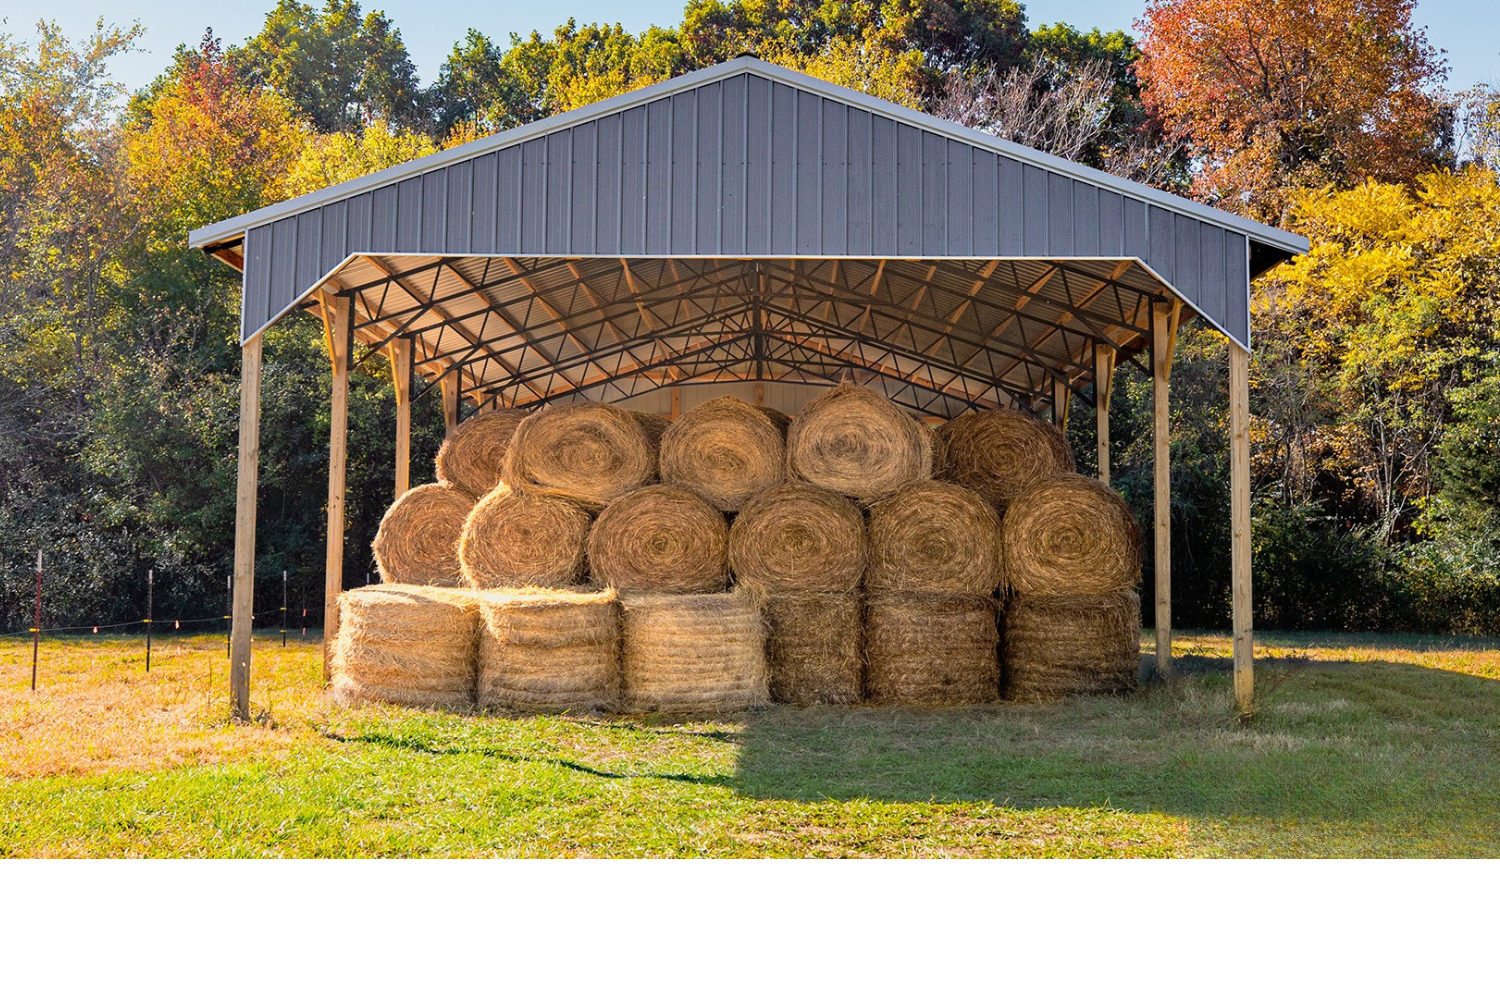
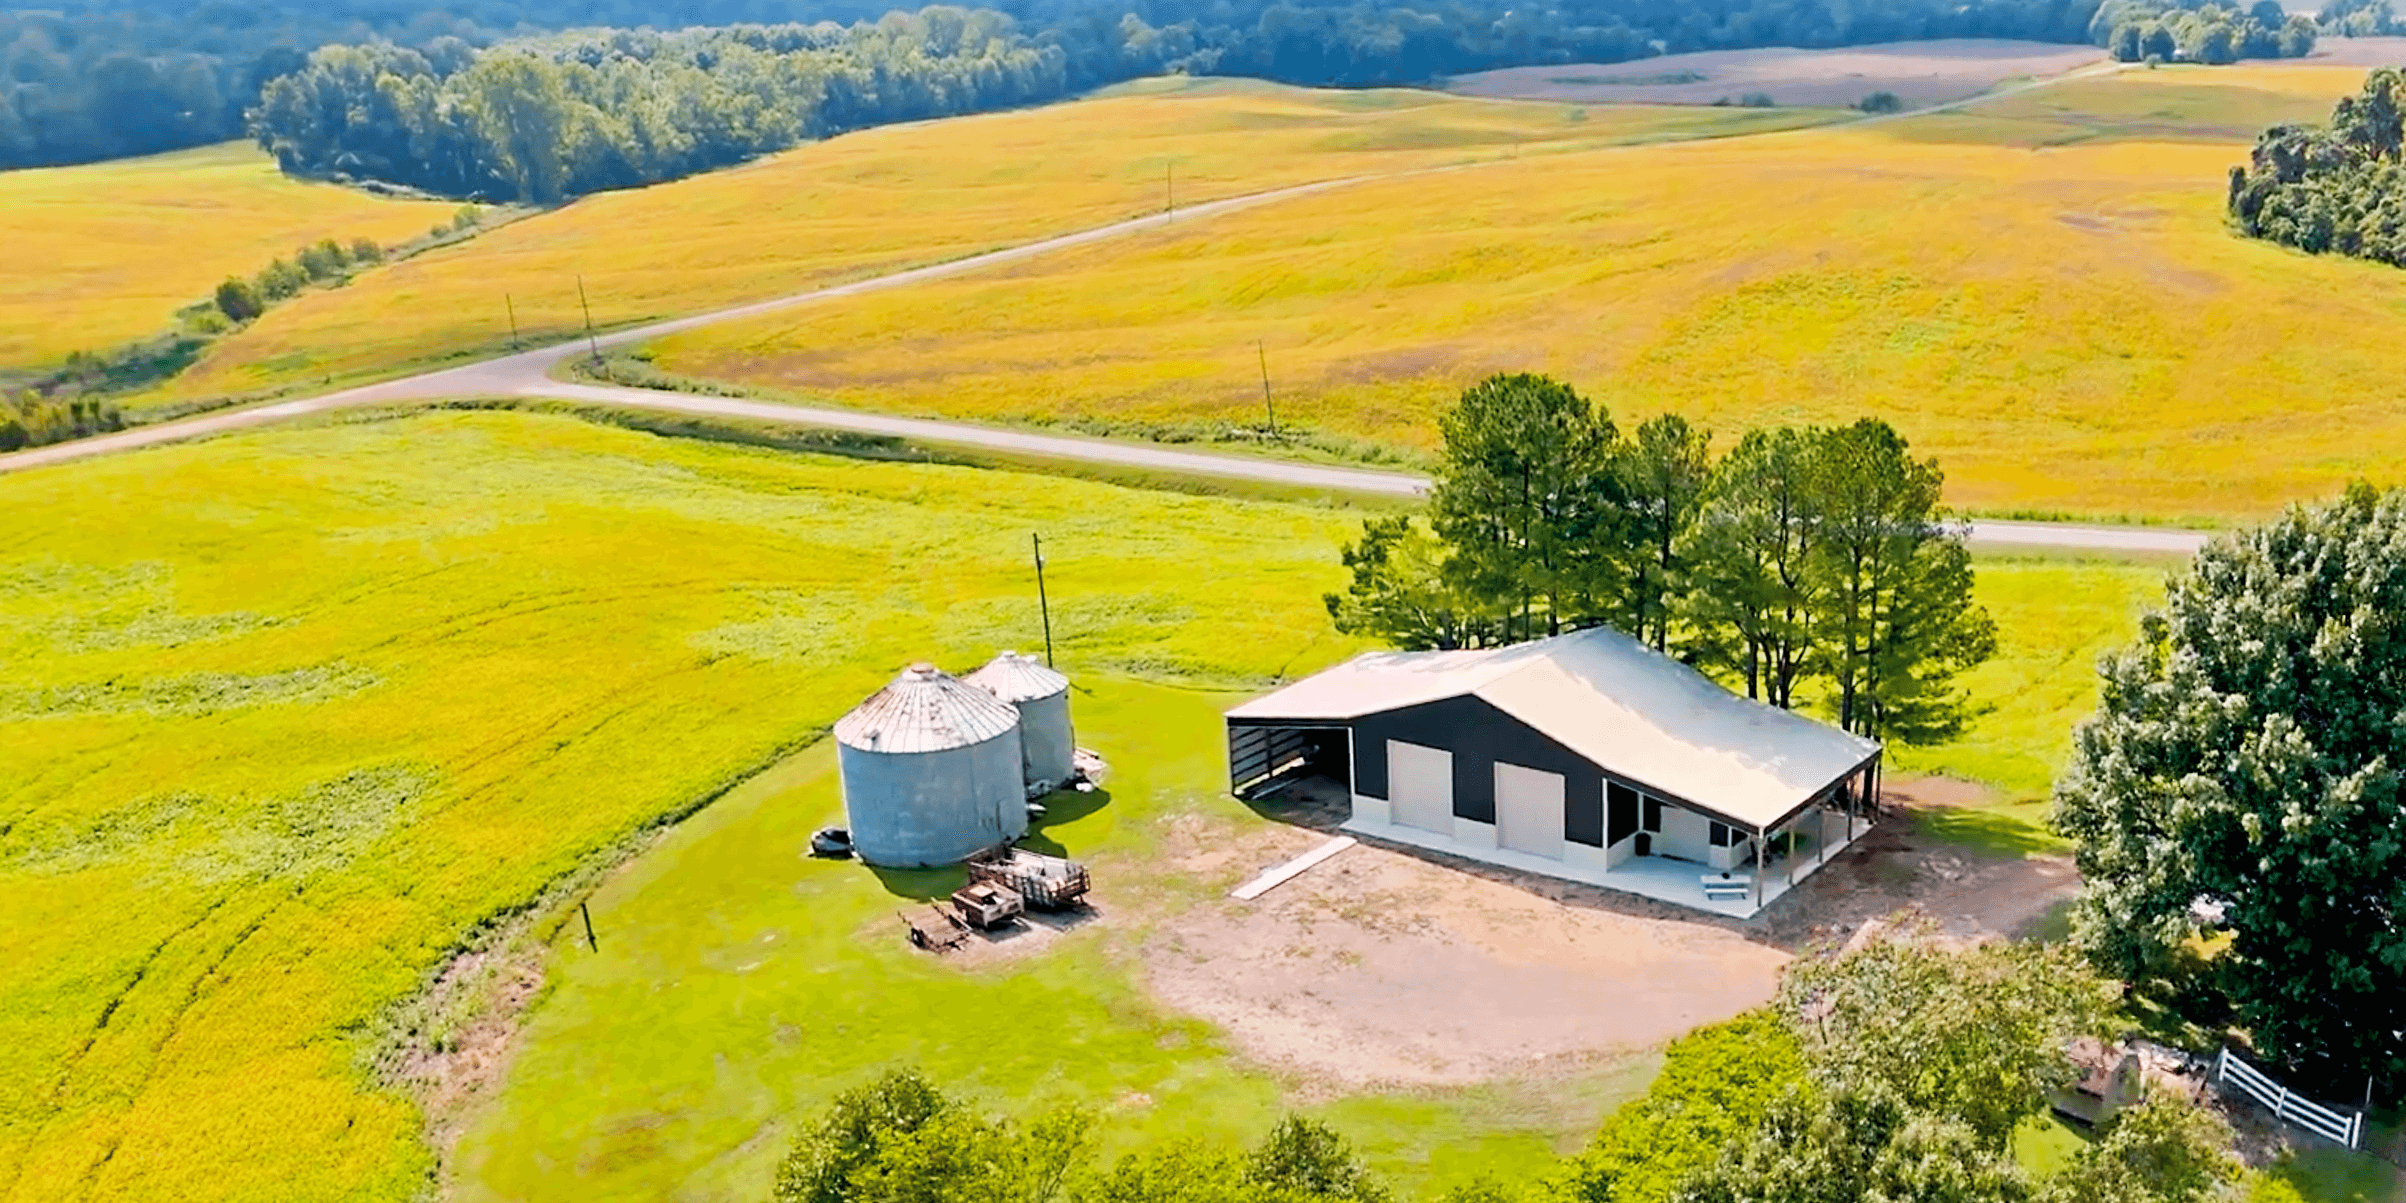
Pole barns are incredibly versatile. Many people build them for storing equipment and tools, creating horse barns or animal shelters, housing RVs and boats, or setting up a dedicated workshop or hobby space. They can also serve as small storefronts or on-farm retail spaces, providing a flexible solution that adapts as your needs grow.
Before you start building, it’s important to define your goals for the pole barn. Your intended use will guide your design choices, including size, layout, and entry points.
Are you storing hay? Housing livestock? Creating a hobby workshop? Knowing your use will guide your size, layout, and material choices.
Here are some different uses for pole barns:
Most Popular Pole Barn Kits
Pick a level, well-drained area with easy access for vehicles, trailers, and equipment you plan to store or use around your barn. A good location will help prevent water pooling around your posts and make day-to-day use of your barn simpler. Be sure to check for overhead power lines and underground utilities before digging, and take note of existing tree roots that could interfere with post placement. It’s also worth considering the slope direction to guide water runoff away from your structure, helping extend the life of your barn.
Pick a level, well-drained area with easy access for vehicles, trailers, and equipment you plan to store or use around your barn. A good location will help prevent water pooling around your posts and make day-to-day use of your barn simpler. Be sure to check for overhead power lines and underground utilities before digging, and take note of existing tree roots that could interfere with post placement. It’s also worth considering the slope direction to guide water runoff away from your structure, helping extend the life of your barn.
Take time to think about how you will use your pole barn now and what your needs might look like in the future. Will you be storing tractors, RVs, or large equipment? You’ll need to ensure the ceiling height and door sizes can accommodate them comfortably. Consider where you want your doors and windows for ease of access, ventilation, and natural light. If you think you may need more space down the road, plan your site with room for future expansion, so you won’t feel limited if your needs grow in a few years.
Local regions often require building codes and permits to ensure your structure meets safety and durability standards. These regulations help protect your pole barn from wind, snow, and seismic loads while ensuring it’s compliant for insurance coverage and long-term reliability. Before you break ground, check your county and state requirements for post-frame structures.
You may need:
Use our 3D building tool to design your own building and get an instant preliminary quote!
Having the right materials and tools on hand will make your pole barn project smoother and more efficient. Quality materials ensure your barn will stand up to the elements for years, while the right tools help you work safely and accurately at every step. Whether you’re using a kit or sourcing materials yourself, gathering everything before you start will save time and reduce frustration once your build is underway.
Pole barn kits simplify the process, providing pre-measured lumber, trusses, and hardware, taking much of the guesswork out of your build. They’re a great option if you want a straightforward project with fewer material surprises. If you prefer more customization, sourcing materials separately allows you to choose your own lumber sizes, siding types, and finishes, but it does require careful planning to ensure you have everything you need before starting.
Our high quality, contractor-grade materials are the best of the best. Don’t build your pole barn with anything less. Learn more or give us a call today get the supplies you need to start building!
Learning how to build a pole barn might feel like a big project, but breaking it down into clear, manageable steps will help you stay organized and confident from start to finish. Each stage builds on the last, ensuring your barn is sturdy, weather-resistant, and ready for years of use on your property. Here’s a straightforward guide to walk you through the entire process.
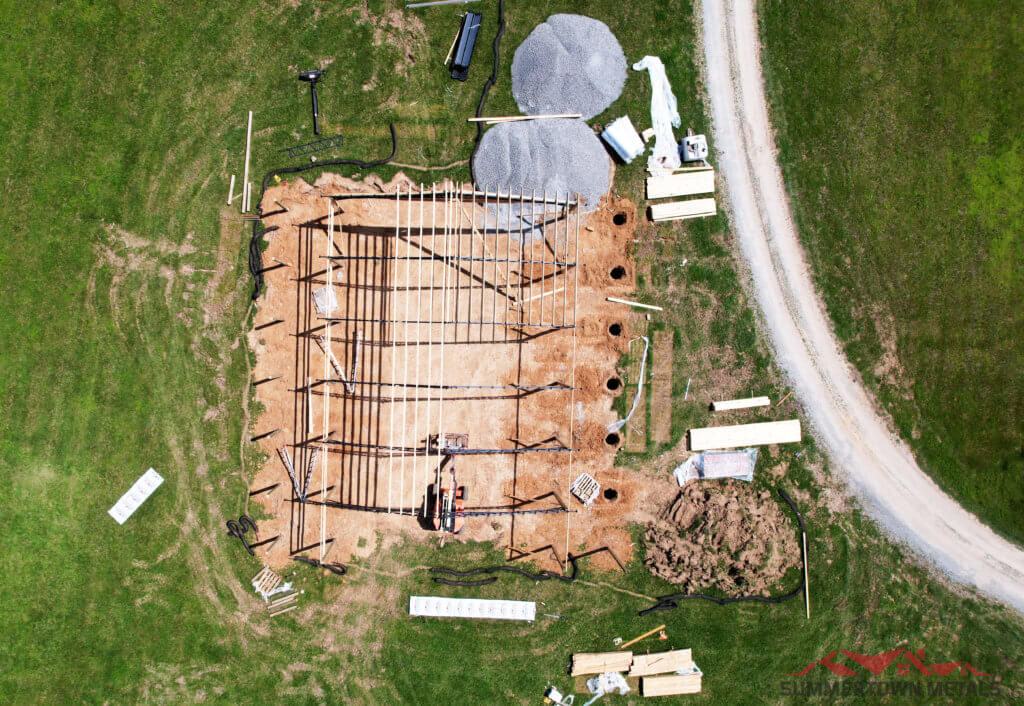
Begin by clearing the building site of vegetation and debris, ensuring the ground is as level as possible. Mark your barn’s layout using stakes and string lines, double-checking for squareness and accurate measurements. Taking time to prepare the site correctly will save you from headaches later in the build.
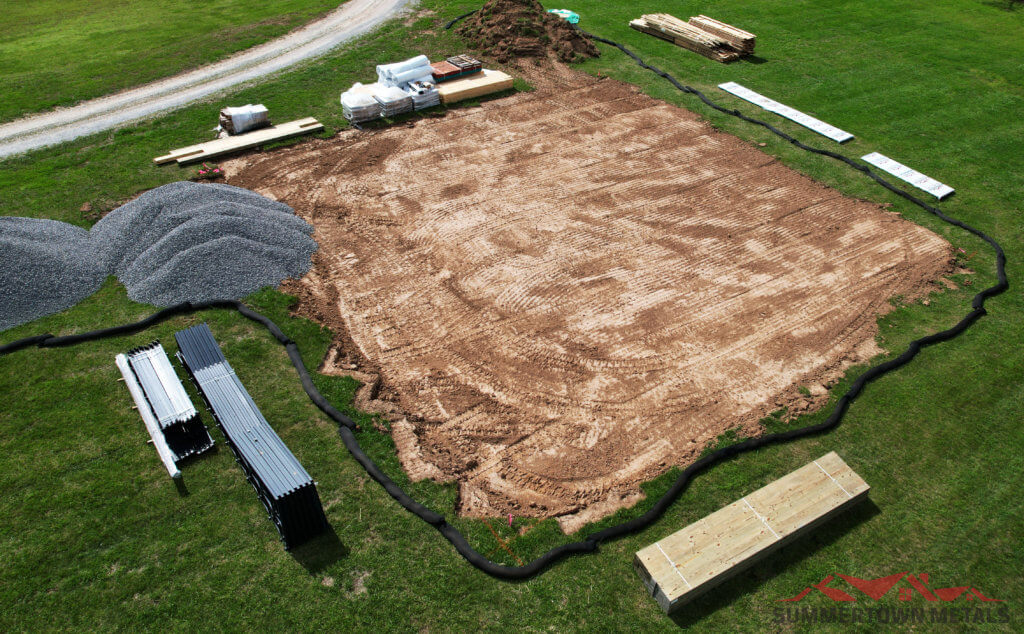
Begin by clearing the building site of vegetation and debris, ensuring the ground is as level as possible. Mark your barn’s layout using stakes and string lines, double-checking for squareness and accurate measurements. Taking time to prepare the site correctly will save you from headaches later in the build.
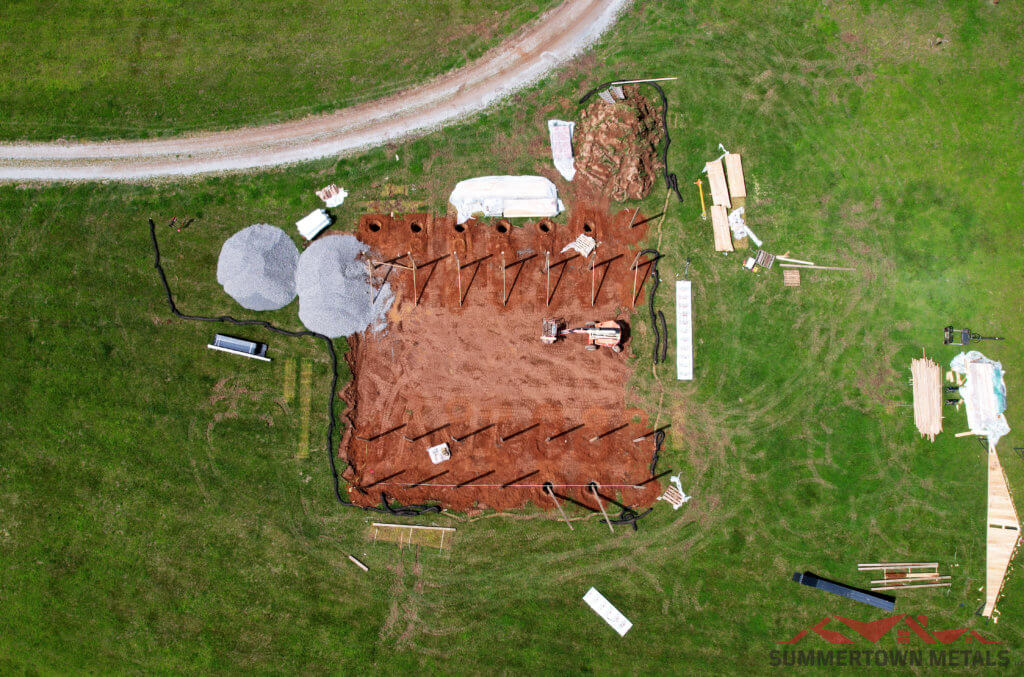
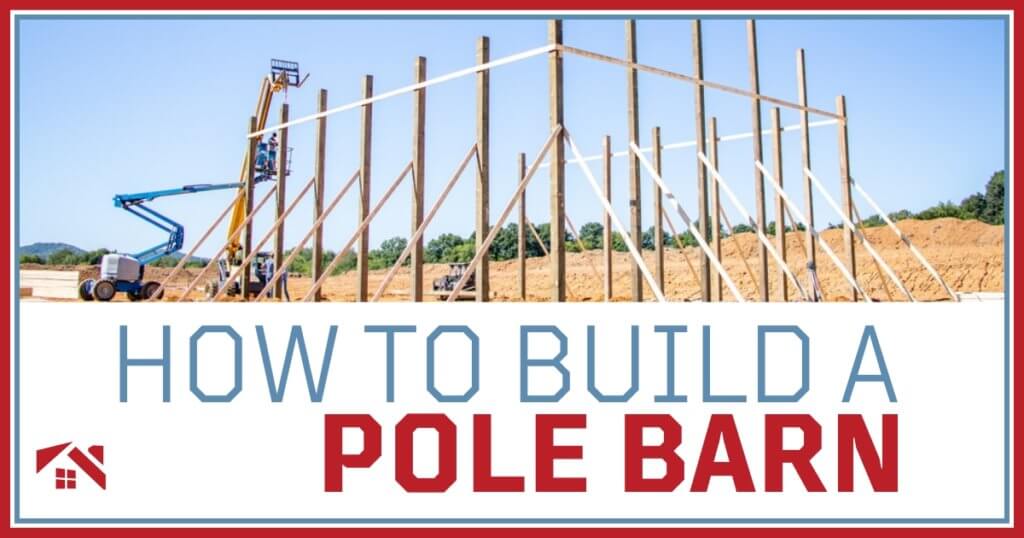
Dig post holes to the required depth, typically below your local frost line, which is often around three to four feet deep. Place your posts in the holes, checking that each is plumb and aligned with your layout lines. Secure the posts with concrete or compacted gravel, ensuring they remain stable while the concrete sets.
Once your posts are set, it’s time to install the horizontal girders that will support your trusses. After girders are secured, lift the trusses into place and attach them according to your engineered plans. Bracing your trusses properly at this stage is essential for stability and safety during the remainder of the construction process.
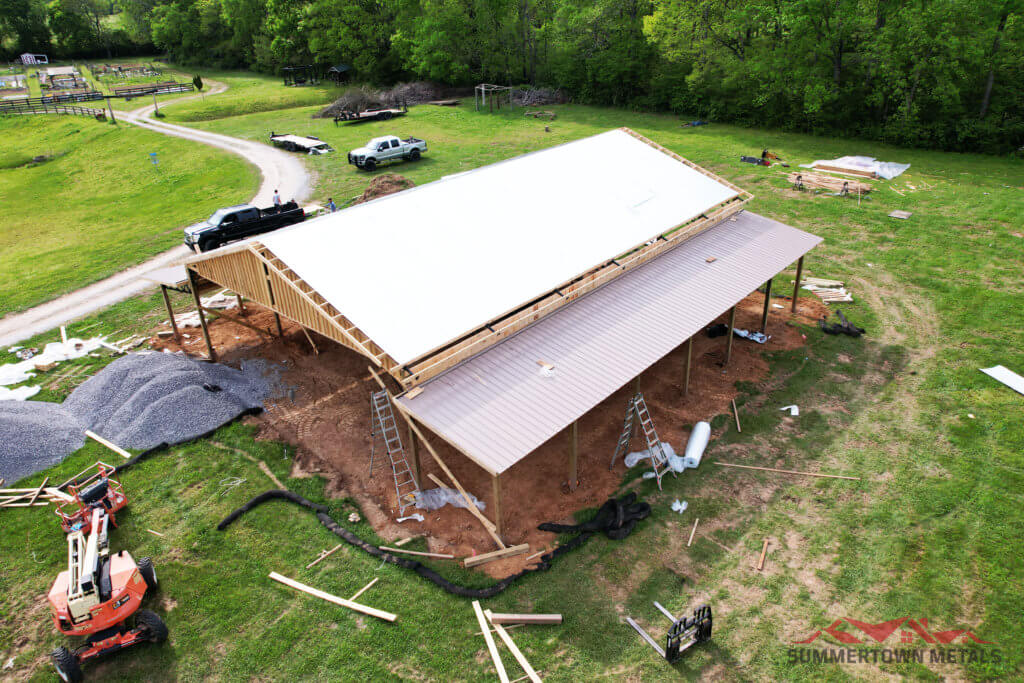
Once your posts are set, it’s time to install the horizontal girders that will support your trusses. After girders are secured, lift the trusses into place and attach them according to your engineered plans. Bracing your trusses properly at this stage is essential for stability and safety during the remainder of the construction process.
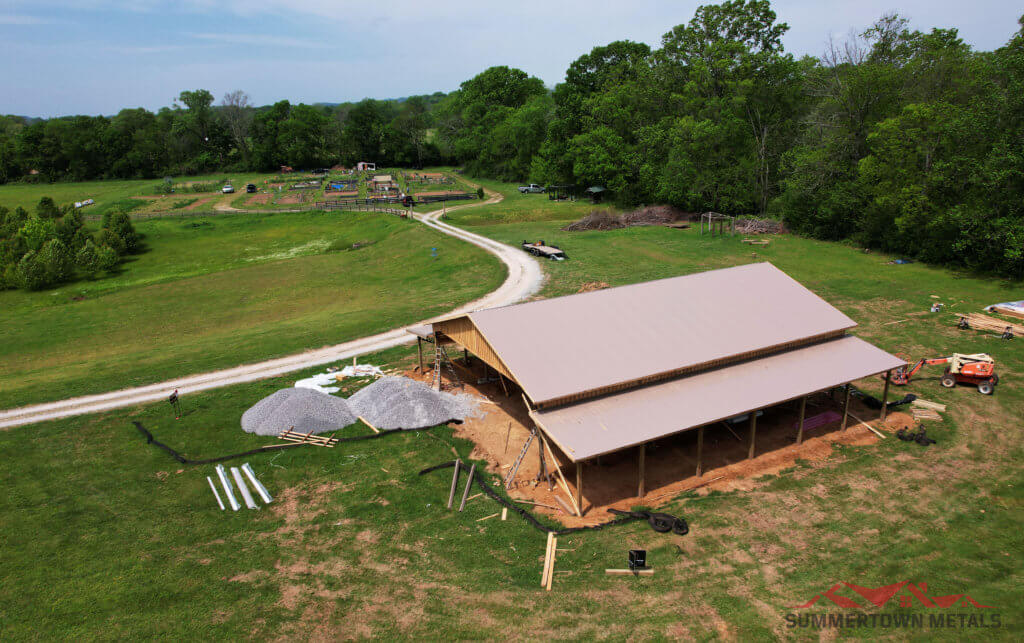
Once your roof is complete, it’s time to enclose your barn. Start by attaching wall girts horizontally between your posts, which will support your siding panels. Beginning at one corner, install your siding panels carefully, checking alignment and level as you move along each wall. This step not only protects your interior but also adds structural rigidity to your barn.
After your siding is in place, you can frame and install your doors and windows. Proper placement will make your barn more functional for everyday use, providing convenient access, ventilation, and natural light. Follow manufacturer guidelines for installation to ensure a tight seal and smooth operation, helping your barn stay weather-resistant and easy to use for years to come.
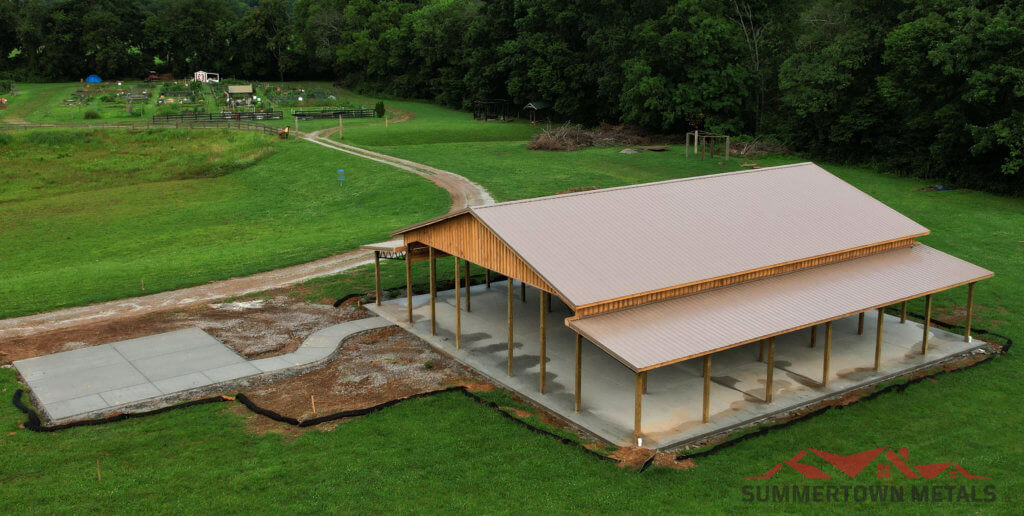
With your barn structure complete, you can add finishing touches that will improve functionality and longevity. Installing trim pieces will provide a clean, professional look while sealing gaps for moisture or pests. Adding gutters and downspouts will help manage water runoff around your barn’s foundation. If you plan to use your pole barn year-round, consider insulating and finishing the interior to creat a comfortable environment for your needs.
Dig post holes to the required depth, typically below your local frost line, which is often around three to four feet deep. Place your posts in the holes, checking that each is plumb and aligned with your layout lines. Secure the posts with concrete or compacted gravel, ensuring they remain stable while the concrete sets.
Once your posts are set, it’s time to install the horizontal girders that will support your trusses. After girders are secured, lift the trusses into place and attach them according to your engineered plans. Bracing your trusses properly at this stage is essential for stability and safety during the remainder of the construction process.
Once your posts are set, it’s time to install the horizontal girders that will support your trusses. After girders are secured, lift the trusses into place and attach them according to your engineered plans. Bracing your trusses properly at this stage is essential for stability and safety during the remainder of the construction process.
Once your roof is complete, it’s time to enclose your barn. Start by attaching wall girts horizontally between your posts, which will support your siding panels. Beginning at one corner, install your siding panels carefully, checking alignment and level as you move along each wall. This step not only protects your interior but also adds structural rigidity to your barn.
After your siding is in place, you can frame and install your doors and windows. Proper placement will make your barn more functional for everyday use, providing convenient access, ventilation, and natural light. Follow manufacturer guidelines for installation to ensure a tight seal and smooth operation, helping your barn stay weather-resistant and easy to use for years to come.
With your barn structure complete, you can add finishing touches that will improve functionality and longevity. Installing trim pieces will provide a clean, professional look while sealing gaps for moisture or pests. Adding gutters and downspouts will help manage water runoff around your barn’s foundation. If you plan to use your pole barn year-round, consider insulating and finishing the interior to creat a comfortable environment for your needs.
Our team of builders are ready to get to work! Kick back and relax while we install your building for you. Not only are our materials quality-grade, but so is our craftsmanship.
One of the biggest mistakes you can make when building a pole barn is skipping permit checks and inspections. Ensuring your barn meets local codes will protect you from costly issues later. Another common error is failing to square your layout before setting posts, leading to alignment problems throughout the build. Using untreated posts can result in premature rot, and poor site drainage can create flooding and foundation issues down the line. Taking time to plan and prepare to prevent these setbacks.
Pole barn construction costs can vary widely depending on size, materials, and customization. Generally, materials account for about half of your total cost, with labor comprising another 30 to 40 percent if you hire help. Permit fees, site preparation, and additional features like insulation or concrete flooring will add to your overall budget.
As a rough estimate, a simple 30×40 pole barn may cost anywhere from $10,000 to $25,000, with DIY builds typically on the lower end of that range. Planning ahead and choosing materials wisely will help you stay within your budget while still achieving a durable, functional barn.
Deciding whether to build your pole barn yourself or hire a professional depends on your comfort level with construction, available time, and your project’s complexity. DIY can save you money on labor and give you a sense of ownership over your build. However, hiring a professional can result in faster construction with fewer errors, especially for larger or more complex barns. Some people find a hybrid approach works well, handling site prep and finishing themselves while hiring professionals for setting posts and framing.
Now that you understand how to build a pole barn, you’re ready to take the next steps toward adding valuable, functional space to your property. By planning carefully, choosing the right materials, and following each step with attention to detail, you can build a barn that meets your current and future needs with confidence.
Absolutely. Many property owners take on building their own pole barns, especially with a well-designed kit and a few extra hands. If you’re comfortable with tools and following plans, it’s a manageable project that can save you on labor costs.
Pole barn kits are designed to make the process straightforward, but you’ll still need to be ready for physical work and attention to detail. With clear instructions and the right equipment, most folks find it’s a rewarding project they can handle with basic building experience.
Posts typically need to be set at least three to four feet deep, or below your local frost line, to ensure stability and protect your barn from shifting with seasonal ground movement.
In many cases, building it yourself is more affordable than hiring it out, particularly if you have time and tools on hand. You’ll save on labor costs, allowing your budget to stretch further for quality materials or custom upgrades.
Labor alone for a 40×60 pole barn can range widely, but you can expect to spend anywhere from $8,000 to $20,000 or more depending on your region, the complexity of the build, and the crew you hire.
Most pole barns are built with posts spaced 8 to 12 feet apart, depending on your engineering requirements, truss design, and local building codes.
In most areas, you will need a building permit before you start your pole barn project. Checking with your county or city ahead of time will help you avoid delays and ensure your barn meets all safety and zoning requirements.
A basic pole barn can often be completed in one to three weeks, depending on size, weather, and crew availability.
Insulating your pole barn is a great way to make it usable year-round. Spray foam, batt insulation, and other options can help regulate temperatures and reduce moisture inside your barn.
Pole barns don’t require a traditional concrete foundation, which is one reason they’re so cost-effective. Many owners add a concrete floor after the barn is framed to make cleaning and moving equipment easier.
When it comes to getting the most out of your space—without overcomplicating the process—a pole barn just makes sense. But maybe you’re wondering what a pole barn is and if it’s right for you. These buildings are known for their strength, simplicity, and versatility, whether you’re ...
From pole barns to fully custom builds, our post frame solutions are designed to fit your life and your land. Explore ready-to-go kits or work with our team to create something just for you—quality materials, honest pricing, and expert guidance every step of the way....